
Using Natural Framing in Bird Photography
- Sonia - Chief Parrot

- Aug 26, 2025
- 2 min read
Updated: Aug 28, 2025
If you’ve been looking for fresh bird photography tips, here’s one you’ll love: natural framing. Instead of just pointing your lens at a bird in plain sight, you can use branches, leaves, flowers, or even sunlight to frame your subject.
It’s one of the easiest bird photography techniques - and one of my favourites for adding creativity and depth to your shots. I'm always looking for framing opportunities, big and small.
Think of it as a 'frame within a frame'. Guiding the eye to the subject, creating intrigue and telling a story. A kookaburra framed by gum leaves instantly feels Australian. A fairy-wren peeking through flowers instead of sitting on a branch? A shot that keeps the viewers attention as they take in the surrounds.

This fierce Grey Goshawk looks even more formidable with the strong 'columns' either side - I was shooting through a paperbark forest and only had the narrowest view but it all worked out!

Why Natural Framing Improves Your Bird Photography
Framing is one of those creative bird photography tricks that works at any skill level. It:
Draws attention to the bird as the main subject.
Adds layers and depth to your photo, making it more engaging.
Provides context, showing the bird in its natural environment.
Hides distractions by using blurred leaves or branches in the foreground.
If you’re a beginner wondering how to photograph birds more creatively, this is a simple step that makes your images look instantly more professional.
Would like like more tips for creative bird photography? I invite you to subscribe 😊🦜 Unsub with a click if you no longer wish to hear from me 😢😄
Simple Bird Photography Exercises
1. The Peekaboo Challenge
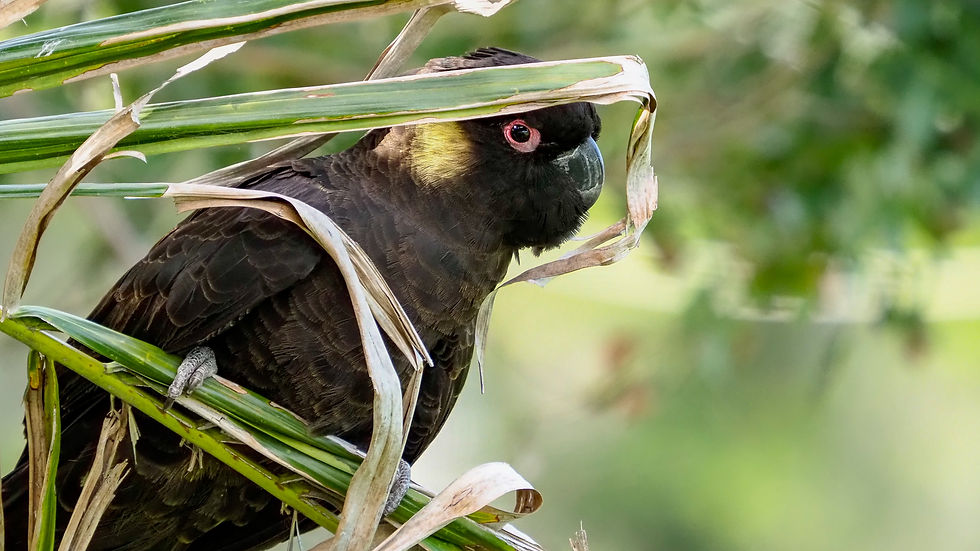
Find a bird partly hidden by branches or reeds. Move your camera so the leaves act like a frame around it. Use your widest aperture (lowest f-number) so the bird stays sharp but the “peekaboo” frame is softly blurred.

2. Create a Nature Window
Look for gaps in foliage, rocks, trees or fences. Wait for the bird to step into the gap - or change your position to get the right angle - now you’ve got a natural window around your subject. This is a fun bird photography technique and once you start looking, you'll be surprised how many opportunities arise!

3. Frame With Light
During golden hour, let light beams or dappled sunlight create natural frames around your subject. Shadows and highlights can act as spotlights, making your bird pop without editing tricks.

4. Layer Cake Shot
Shoot through grass, flowers, or reeds in the foreground while focusing on the bird in the middle. The blurred layers create a dreamy, artistic feel which is perfect for small birds or shorebirds.

Keep It Fun and Creative
The beauty of natural framing is that you can practice it anywhere — your backyard, a local park, or on a bird photography adventure. Some frames will work, others won’t, but that’s part of the fun. With a little patience, you’ll start spotting frames everywhere! Don't be afraid to use man-made objects either ...

So next time you’re out with your camera, don’t just chase the clearest shot. Play peekaboo with your birds!
Happy birding - and happy framing! 🦜📸


Comments